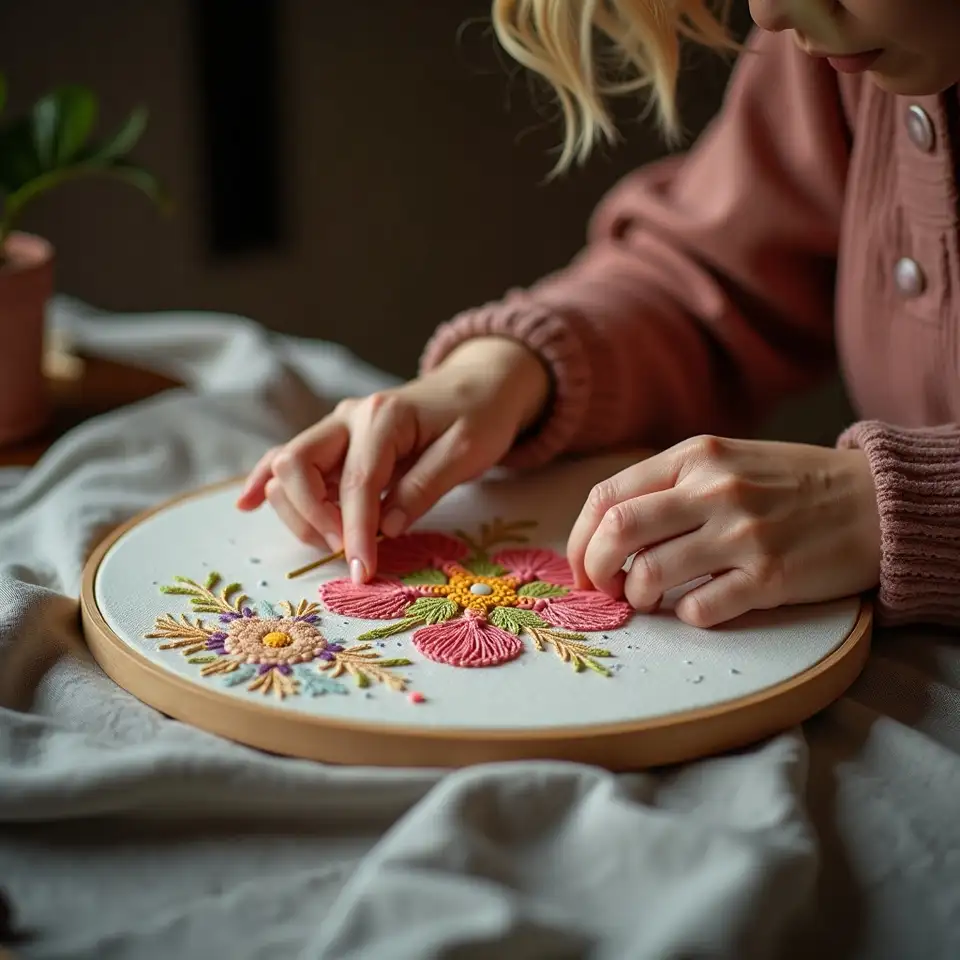
Hand demonstrating embroidery technique

How to Use This Section.

You’ve probably tried to follow a technique only to realise key steps were skipped or the result didn’t look as promised. Here, you get the full process—side-by-side comparisons, step photos, and clear notes on what might trip you up. No marketing gloss, just honest evidence of how each stitch actually performs.
  1. 01

    Choose a technique

    Pick a technique that matches your project, and get a breakdown with both visuals and honest pros and cons. No skipped steps or sugar-coating.

  2. 02

    Look at comparisons

    Study the close-up photos and side-by-side samples. See what changes when you alter tension, thread, or fabric type.
  3. 03

    Work through steps

    Follow the step-by-step instructions and note where common pitfalls are flagged, so you know what to watch out for.

  4. 04

    Read feedback

    Check community feedback to see real-world results and advice on adapting each method to your style.

Step-by-Step Technique Guide

Each step below covers a core embroidery technique, what it’s good for, and the main issues to watch out for. You’ll see how real samples look—not just staged photos.

Back Stitch for Clean Outlines

Back stitch is often the starting point for outlining shapes and adding definition to letters. It’s reliable, simple to learn, and forms a solid line, though it can show unevenness if you rush or let tension slacken. Consistency beats speed here.

Satin Stitch for Smooth Fills

Satin stitch fills areas with a smooth surface, ideal for petals or geometric shapes. It takes patience to avoid gaps, and thread direction matters more than most realise. Practice on scrap before filling your final piece for best results.

French Knot for Texture

French knots bring a three-dimensional pop to motifs, often used for floral centres or texture accents. They can unravel or flatten if the thread isn’t anchored tightly. Test a few knots before committing them to a finished area.

Long and Short Stitch for Shading

Long and short stitch is the method of choice for blending colours and creating gradient effects. It’s less forgiving and benefits from planning, but gives the most natural shading in realistic designs. Don’t expect perfection on the first try.

Stitch Comparison Table

Back Stitch Versus Running Stitch

Back stitch is the go-to for outlining shapes and lettering. It’s easy to pick up and keeps lines crisp, but can look uneven if tension slips. Great for beginners, less forgiving of loose threads than running stitch.

Satin Stitch Versus Long and Short

Satin stitch creates smooth, filled areas, while long and short stitch lets you blend colours and build subtle gradients. Satin is faster but more likely to show gaps. Long and short offers more control for shading, at the cost of speed.

French Knot Versus Seed Stitch

French knots add texture and dimension, perfect for flower centres or decorative dots. They can unravel if not anchored securely, while seed stitch offers a more stable, scattered texture but less visual pop.

Couching Versus Stem Stitch

Couching secures thicker threads or unusual fibres with visible tacking stitches. It’s useful for bold lines and mixed media. Stem stitch, meanwhile, handles curves better but lacks couching’s flexibility for materials.

Practical Tips for Embroidery Techniques

You’ll get further by avoiding common mistakes and preparing honestly for what can go wrong. Here are a few practical tips from our team’s experience.

Always Do a Test Run

Preparation

Always try out a new stitch or material on scrap fabric before starting your main project. This lets you see how your chosen thread, needle, and fabric interact, and saves you from costly mistakes. Skipping this can mean wasted effort and uneven results.

Test on scrap Check thread type
5–10 min
Beginner

Hoop and Tension Control

Technique

A small, good-quality hoop helps maintain even tension, which is critical for consistent stitches. If your hoop is too large or loose, even simple stitches like back stitch will look uneven. Adjust tension every few minutes as you work.

Use small hoop Adjust tension
10–20 min
Beginner

Pace Matters for Fill Stitches

Execution

Don’t rush through fill stitches like satin or long and short stitch. Thread direction and speed affect both appearance and durability. Take your time, especially when working on visible, filled areas.

Slow down Check direction
15–30 min
Intermediate
See more tips in project notes

Technique FAQs